


This article will walk you through a simple GraphQL setup for your Next JS app.
This guide is aimed at people already familiar with GraphQL, if you are not I recommend you to go through some tutorials first and see what this is all about. Spoiler alert, GraphQL is awesome.
App Setup
There are a couple of ways to do this in this case we will use the create-next-app command.
On your terminal run the following command.
npx create-next-app next-graphql-app
Move to the app folder
cd next-graphql-app
Adding TypeScript
I am a TypeScript freak, I literally can't write normal Javascript anymore. So please bare with me and add TypeScript to your app. Not but seriously, TypeScript is great you should try it. NextJS makes it pretty easy as well.
First, create a file called tsconfig.json
touch tsconfig.json
Install TypeScript and types
npm install --save-dev typescript @types/react @types/node
Change the file extensions inside the pages folder.
_app.js -> _app.tsx
index.js -> index.tsx
hello.js -> hello.ts
Finally, start the app
npm run dev
**It's Alive! **
Adding Apollo GraphQL
So we already have the NextJS + TypeScript part ready, now onto GraphQL. In this guide, we will use a library called Apollo Client to handle the data fetching (urql guide coming soon).
First, let's install Apollo Client and GraphQL
npm install @apollo/client graphql
Before we set up our client, we need an API to connect to. We could make our GraphQL backend, but that would be for another blog. For now, we will use an existing countries api, give it a star while you are at it.
With the API URL let's create the client we will connect to. Inside pages/_app.tsx add the following code.
import { ApolloClient, InMemoryCache } from '@apollo/client';

const client = new ApolloClient({
  uri: 'https://countries.trevorblades.com',
  cache: new InMemoryCache()
});
Now let's connect the client to our app with ApolloProvider.
Your pages/_app.tsx should look like this.
import type { AppProps } from 'next/app';
import { ApolloClient, InMemoryCache } from '@apollo/client';
import { ApolloProvider } from '@apollo/client';

const client = new ApolloClient({
  uri: 'https://countries.trevorblades.com',
  cache: new InMemoryCache(),
});

import '../styles/globals.css';

function MyApp({ Component, pageProps }: AppProps) {
  return (
    <ApolloProvider client={client}>
      <Component {...pageProps} />
    </ApolloProvider>
  );
}

export default MyApp;
So here, we are basically wrapping our app inside an ApolloProvider component that takes the client as a prop.
Fetching Data
Our app is now connected to the countries API but not much is happening. As you can probably already tell, we need to actually fetch the data. Apollo comes with some hooks that will help us with data fetching, in this tutorial we will only use the useQuery hook but feel free to explore all the other hooks Apollo has to offer.
Let's clean up pages/index.tsx from the default stuff that comes with NextJS.
import Head from 'next/head';
import styles from '../styles/Home.module.css';

export default function Home() {
  return (
    <div className={styles.container}>
      <Head>
        <title>Countries GraphQL</title>
        <link rel='icon' href='/favicon.ico' />
      </Head>
      <h1>Countries</h1>
      <div>
        <h3>Countries go here</h3>
      </div>
    </div>
  );
}
Let's also remove the styles we won't be using from styles/Home.module.css.
/* This is all we need */
.container {
  min-height: 100vh;
  padding: 0 0.5rem;
  display: flex;
  flex-direction: column;
  justify-content: center;
  align-items: center;
}
Much better :)
A GraphQL query, which we will use to fetch data, looks like this.
query {
    countries {
      code
      name
  }
}
Now, we could write the queries in the same file, but I am a fan of having the queries in a separate file. In order to achieve this we need to make some tweaks to let NextJS know how to read the .graphql files.
Inside the root folder create a file called next.config.js and input the following code.
module.exports = {
  webpack: (config) => {
    config.module.rules.push({
      test: /\.(graphql|gql)$/,
      exclude: /node_modules/,
      loader: 'graphql-tag/loader',
    });
    return config;
  },
};
This is telling webpack how to load the .graphql files.
Now we need to tell TypeScript about this .graphql file, if we don't it's gonna complain. Inside the root folder create a folder called @types, inside this folder create a file called graphql.d.ts and add the following code.
declare module '*.graphql' {
  import { DocumentNode } from 'graphql';
  const Schema: DocumentNode;

  export = Schema;
}
Ok, that should be it. Now let's create a .graphql file, where we will have our query.
For simplicity, we will locate our query file inside the pages folder, but feel free to follow whatever convention you have. So, like I said before, inside the pages folder create a file called queryCountries.graphql with the following code.
query {
  countries {
     code
      name
  }
}
Now let's call the query inside pages/index.tsx using the useQuery hook.
import Head from 'next/head';
import { useQuery } from '@apollo/client';

import QUERY_COUNTRIES from './queryCountries.graphql';

import styles from '../styles/Home.module.css';

export default function Home() {
  const { data, loading, error } = useQuery(QUERY_COUNTRIES);
  // make sure all data is loaded
  if (loading) {
    return <p>loading...</p>;
  }

  // check for errors
  if (error) {
    return <p>:( an error happened</p>;
  }

  // if all good return data
  return (
    <div className={styles.container}>
      <Head>
        <title>Countries GraphQL</title>
        <link rel='icon' href='/favicon.ico' />
      </Head>
      <h1>Countries</h1>
      {/* let the user know we are fetching the countries */}
      {loading && <p>loading...</p>}
      <div>
        {data.countries.map((country) => (
          <div key={country.code}>{country.name}</div>
        ))}
      </div>
    </div>
  );
}
You should see something like this:
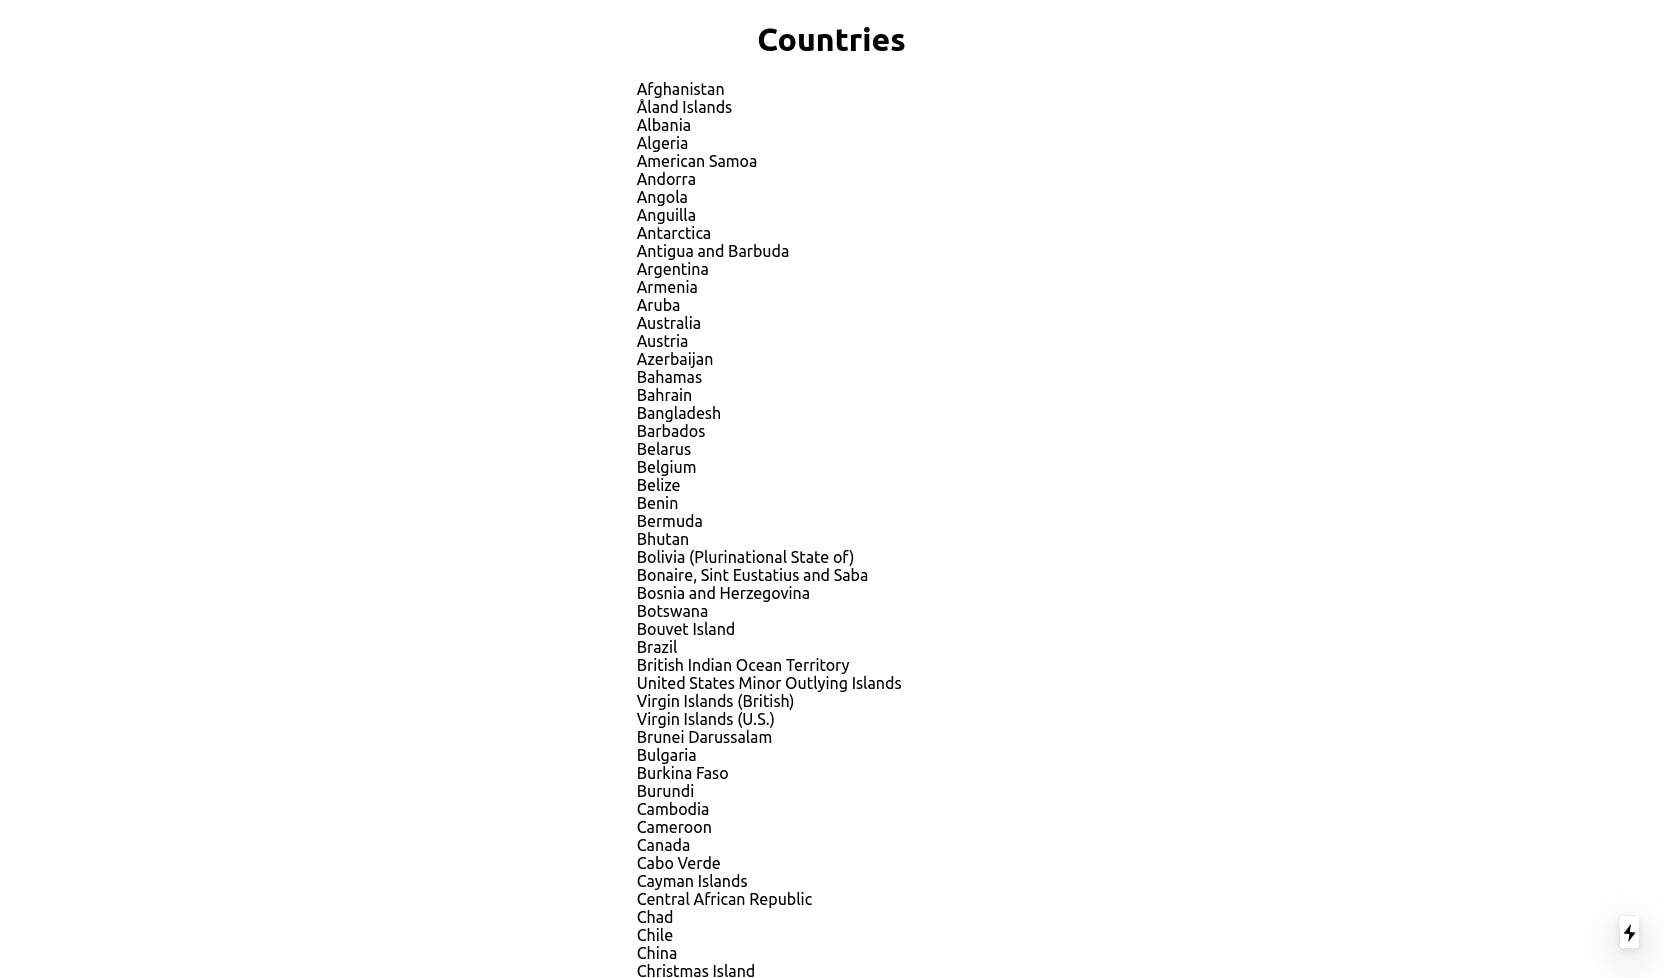
Not very stylish, but the data is there and we are done with our setup.
**You can check the source code here. **
Challenge
Now that we have the data, I challenge you to style the app and tweet me the result at @ivanms1. Remember that you can add more fields to the query, for example, flag, capital and currency.
query {
    countries {
      code
      name
      capital
      emoji
      currency
  }
}
Check the playground to see all the fields available.
Hope you enjoyed this tutorial, if you did please like, comment and share so I can keep making more.
Check part 2 of this article here.
Edit: Changed the API, the previous one wasn't working anymore.